How to Build a Wildlife Pond in a Small UK Garden: Step-by-Step
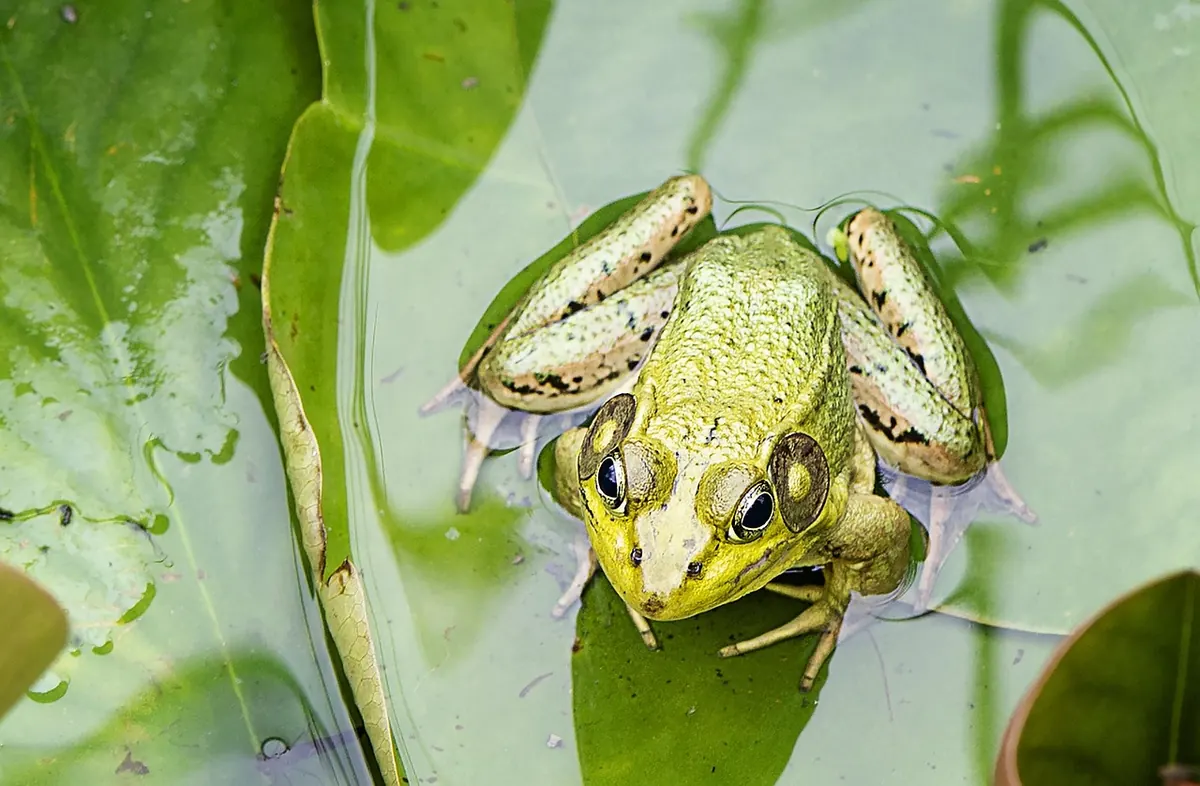
A pond the size of a dining table will bring more wildlife into a garden than almost anything else you can add. Frogs turn up within weeks, damselflies and dragonflies within a season or two, and birds will be bathing in it long before the plants have settled. You do not need much space, a large budget or any plumbing. A sheet of liner, a weekend with a spade and a few native plants will do it, as long as you get the siting, the levels and the edges right.
It helps to be clear about what you are building. This is not a koi pond, not a water feature with a fountain and coloured lights, and not a formal rectangular pool with a statue at one end. Those are all perfectly good things, but they are designed to look tidy and to be managed. A wildlife pond is designed to be left alone, and the scruffier it gets around the edges, the better it works. Still water, no pump, no filter, no fish.
Choosing a spot that works with the garden
Aim for somewhere with sun for part of the day and shade for the rest. Five or six hours of sunshine is plenty; a pond in full sun all day heats up quickly and grows more algae, while one in deep shade stays cold and flowers poorly. Keep it clear of big trees and shrubs, where fallen leaves are a nuisance and roots can work their way through a liner.
Two points are easy to overlook. Avoid anywhere that collects run-off from a driveway or patio, because the nutrients and pollutants that wash in will feed algae. And put the pond where you will actually see it — beside a kitchen window, or on the path you take across the garden. A pond you pass every day gets noticed, and noticing is how wildlife ponds get looked after.
There is an old piece of advice worth ignoring: dig the pond in the damp, awkward corner at the bottom of the garden because "that is where water wants to be". That corner is usually shaded, out of sight and often waterlogged in winter, which means the liner floats and the planting sulks. A sunny spot halfway up the garden that you walk past on the way to the bins will be a far better pond, even if it is a little further from the house.
Shape, depth and the ledges that matter most
An irregular outline looks more natural than a perfect circle, and a long axis running away from your usual viewpoint makes a small pond look bigger. Lay out the shape with a hosepipe or a length of rope before you cut a single turf, and shuffle it about until it looks right.
Forty to sixty centimetres at the deepest point is enough for frogs to overwinter in the silt and for the water to stay reasonably steady in hot weather. What really matters, though, is the shelves.
- A marginal shelf around 20–25 cm wide, running along at least half the pond and sitting 10–15 cm below the finished water level. This is where your marginal and bog plants will grow.
- A gently sloping beach at one end, graded almost to nothing, so birds can wade in to bathe and frogs and hedgehogs can climb out. Steep-sided ponds are the reason so many small creatures drown.
- A deeper central area where wildlife can retreat when the weather turns or the pond is disturbed.
Check the level as you dig. Lay a straight plank across the hole with a spirit level on top and take readings as you go; a pond that is out of level shows an ugly strip of liner along one edge. For a typical small pond of about 2 m by 1.5 m, a good profile is a beach at one short end, a marginal shelf along one long side and a single deep section roughly the size of a wheelbarrow.
Lining the pond
Flexible liner gives you freedom of shape, while a preformed rigid shell is quicker but limits you to whatever shape you can buy. For a small wildlife pond, butyl or EPDM rubber at roughly 0.75–1 mm thick is the dependable choice. To work out how much you need, add twice the maximum depth plus about 60 cm to both the length and the width, so there is enough to tuck under the edges.
Before the liner goes in, remove every sharp stone and any roots you can find, then cover the base and sides with a geotextile underlay. A thin layer of soft sand over the bottom adds another cushion and helps the liner sit flat.
Lay the liner loosely and weight the edges with bricks or stones. Start filling and adjust the folds as the water rises — folds are normal and look natural once plants grow over them, so resist the urge to pull them flat. Fill from a water butt if you can. Tap water will not poison a pond, but it arrives with nutrients, and in some areas with chloramine, which does not dissipate the way chlorine does. Once full, trim the liner with a generous overlap and hide the edge.
Edging, access and safety
The tidiest finish is to lift the turf in a strip around the pond, tuck the liner underneath and lay the turf back over it. Flat stones laid so they overhang the water hide the liner, give birds a place to perch and drink, and stop the edge from fraying. Leave a few gaps between them and let the grass grow long behind — small creatures use those gaps as corridors in and out.
However you finish it, keep one obvious escape route: a piece of rough timber, a sloping stone or a bundle of twigs reaching from the water to dry land. Hedgehogs, voles and beetles all fall in; without a way out they will not survive the night.
If there are toddlers in the house or next door, be honest about the risks rather than pretending they do not exist. A pond with a shallow beach and a firm edge is safer than a vertical-sided one, and a sturdy metal grid set just below the surface can be hidden with stones and plants while still catching a falling child. No pond is ever truly child-proof, so supervision does the real work.
Planting the pond in its first season
Plant in spring, when the water is warming and roots can establish before winter. Use British native species where you can, and buy from a nursery rather than digging plants from the wild, which is illegal without the landowner's permission and can carry in disease.
- Marginals for the shelf: marsh marigold, water forget-me-not, brooklime, water mint, lesser spearwort and yellow flag iris. Two or three species are plenty in a small pond.
- Oxygenators: hornwort, water starwort or water milfoil, planted in a basket of coarse soil topped with gravel. These keep the water clear and give dragonfly nymphs somewhere to hunt.
- One or two floating leaves, such as a small native water lily, for shade and cover — but no more than a third of the surface.
What to keep out matters just as much. New Zealand pygmyweed, floating pennywort, water fern and parrot's feather are banned from sale in the UK because they smother everything and are almost impossible to remove. Avoid fish too: goldfish and koi eat tadpoles, newt larvae and dragonfly nymphs, and they stir up the silt that makes the water clear in the first place.
Looking after a wildlife pond through the year
A new pond almost always turns green in its first summer. This is not a fault, it is a stage. Floating plants, oxygenators and the nutrients being locked up by plants will sort it out within a season or two. In the meantime, twirl a stick through blanketweed and lift it out in handfuls, leaving it on the edge for an hour so anything caught in it can crawl back.
Never use algaecides, dyes or bacterial "pond cleaners" in a wildlife pond. They kill the insects and amphibian larvae along with the algae, and the algae simply return.
In autumn, scoop out fallen leaves before they sink, but leave some silt and decaying plant material at the bottom — that is where frogs, newts and dragonfly nymphs overwinter. In late winter, cut back dead stems above the water and leave the cuttings beside the pond for a few days. If the pond ever needs clearing, do it in early autumn, never in spring, when frogs and newts are spawning.
Finally, if you find great crested newts or their eggs, stop work and seek advice. They are protected by law, and a pond that has them is a genuine prize. Most of the time, though, the reward is simpler: a jar of pond water on the kitchen windowsill, a dragonfly on a warm June evening, and a garden that is visibly busier than it was last year.
Photo: stanbalik / Pixabay
Coppicing Explained: Why Traditional Woodland Management Helps British Wildlife
Coppicing — cutting trees near the ground so they regrow — keeps British woods light, open and rich in...
Hedgehog or Badger? How to Identify Night-Time Garden Visitors in the UK
Learn to tell hedgehogs, badgers and other night-time garden visitors apart by their tracks, droppings,...
About Us